好久没写文章了,过年以后就有点懒… 最近也在学习 golang,再加上不断造轮子所以没太多时间;凑巧最近想控制一下 kubectl 权限,这里便记录一下。
一、RBAC 相关 相信现在大部分人用的集群已经都是 1.6 版本以上,而且在安装各种组件的时候也已经或多或少的处理过 RBAC 的东西,所以这里不做太细节性的讲述,RBAC 文档我以前胡乱翻译过一篇,请看 这里 ,以下内容仅说主要的
1.1、RBAC 用户角色相关 我在第一次接触 Kubernetes RBAC 的时候,对于基于角色控制权限这种做法是有了解的,基本结构主要就是三个:
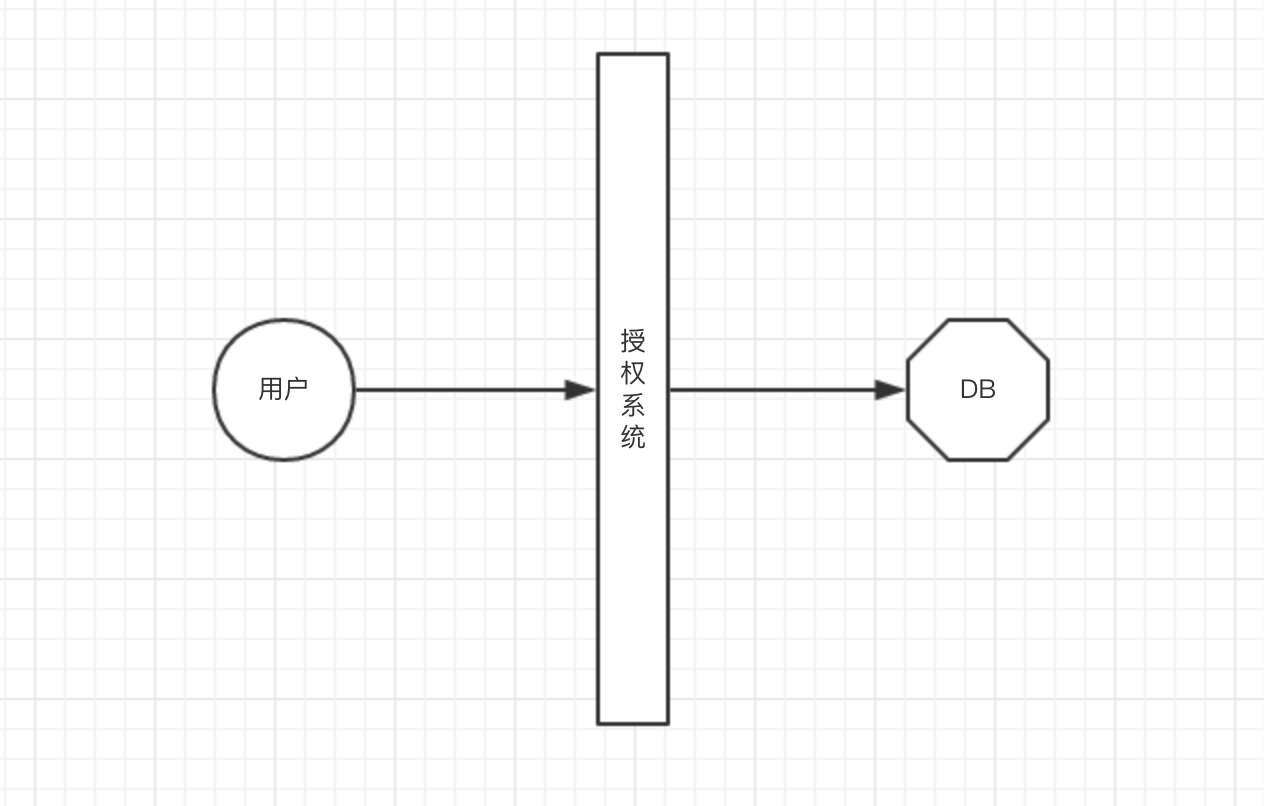
权限: 即对系统中指定资源的增删改查权限 角色: 将一定的权限组合在一起产生权限组,如管理员角色 用户: 具体的使用者,具有唯一身份标识(ID),其后与角色绑定便拥有角色的对应权限 但是翻了一会文档,最晕的就是 这个用户标识(ID)存在哪 ,因为传统的授权模型都是下面这样
不论怎样,在进行授权时总要有个地方存放用户信息(DB/文件),但是在 Kubernetes 里却没找到;后来翻阅文档,找到这么一段
1 Normal users are assumed to be managed by an outside, independent service. An admin distributing private keys , a user store like Keystone or Google Accounts, even a file with a list of usernames and passwords.
也就是说,Kubernetes 是不负责维护存储用户数据的;对于 Kubernetes 来说,它识别或者说认识一个用户主要就几种方式
X509 Client Certs: 使用由 k8s 根 CA 签发的证书,提取 O 字段 Static Token File: 预先在 API Server 放置 Token 文件(bootstrap 阶段使用过) Bootstrap Tokens: 一种在集群内创建的 Bootstrap 专用 Token(新的 Bootstarp 推荐) Static Password File: 跟静态 Token 类似 Service Account Tokens: 使用 Service Account 的 Token 其他不再一一列举,具体请看文档 Authenticating ;了解了这些,后面我们使用 RBAC 控制 kubectl 权限的时候就要使用如上几种方法创建对应用户
1.2、RBAC 权限相关 RBAC 权限定义部分主要有三个层级
apiGroups: 指定那个 API 组下的权限 resources: 该组下具体资源,如 pod 等 verbs: 指对该资源具体执行哪些动作 定义一组权限(角色)时要根据其所需的真正需求做最细粒度的划分
二、创建一个只读的用户 2.1、创建用户 首先根据上文可以得知,Kubernetes 不存储用户具体细节信息,也就是说只要通过它的那几种方式能进来的用户,Kubernetes 就认为它是合法的;那么为了让 kubectl 只读,所以我们需要先给它创建一个用来承载只读权限的用户;这里用户创建我们选择使用证书方式
1 2 3 4 5 6 7 8 9 10 11 12 13 14 15 16 17 18 "CN" : "readonly" ,"hosts" : [],"key" : {"algo" : "rsa" ,"size" : 2048"names" : ["C" : "CN" ,"ST" : "BeiJing" ,"L" : "BeiJing" ,"O" : "develop:readonly" ,"OU" : "develop"
然后基于以 Kubernetes CA 证书创建只读用户的证书
1
2
3
4
5
cfssl gencert --ca /etc/kubernetes/ssl/k8s-root-ca.pem \readonly
以上命令会生成 readonly-key.pem、readonly.pem 两个证书文件以及一个 csr 请求文件
2.2、创建 kubeconfig 有了用于证明身份的证书以后,接下来创建一个 kubeconfig 文件方便 kubectl 使用
1
2
3
4
5
6
7
8
9
10
11
12
13
14
15
16
17
18
19
20
21
22
#!/bin/bash "https://172.16.0.18:6443" ${2:-"/etc/kubernetes/ssl"} ${KUBE_API_SERVER} \${CERT_DIR} /k8s-root-ca.pem \true \${CERT_DIR} /k8s-root-ca.pem \true \
这条命令会将证书也写入到 readonly.kubeconfig 配置文件中,将该文件放在 ~/.kube/config 位置,kubectl 会自动读取
2.3、创建 ClusterRole 本示例创建的只读用户权限范围为 Cluster 集群范围,所以先创建一个只读权限的 ClusterRole;创建 ClusterRole 不知道都有哪些权限的话,最简单的办法是将集群的 admin ClusterRole 保存出来,然后做修改
1
2
这个 admin ClusterRole 是默认存在的,导出后我们根据自己需求修改就行;最基本的原则就是像 update、delete 这种权限必须删掉(我们要创建只读用户),修改后如下
1
2
3
4
5
6
7
8
9
10
11
12
13
14
15
16
17
18
19
20
21
22
23
24
25
26
27
28
29
30
31
32
33
34
35
36
37
38
39
40
41
42
43
44
45
46
47
48
49
50
51
52
53
54
55
56
57
58
59
60
61
62
63
64
65
66
67
68
69
70
71
72
73
74
75
76
77
78
79
80
81
82
83
84
85
86
87
88
89
90
91
92
93
94
95
96
97
apiVersion: rbac.authorization.k8s.io/v1beta1 kind: ClusterRole metadata: name: cluster-readonly rules: - apiGroups: - "" resources: - pods - pods/attach - pods/exec - pods/portforward - pods/proxy verbs: - get - list - watch - apiGroups: - "" resources: - configmaps - endpoints - persistentvolumeclaims - replicationcontrollers - replicationcontrollers/scale - secrets - serviceaccounts - services - services/proxy verbs: - get - list - watch - apiGroups: - "" resources: - bindings - events - limitranges - namespaces/status - pods/log - pods/status - replicationcontrollers/status - resourcequotas - resourcequotas/status verbs: - get - list - watch - apiGroups: - "" resources: - namespaces verbs: - get - list - watch - apiGroups: - apps resources: - deployments - deployments/rollback - deployments/scale - statefulsets verbs: - get - list - watch - apiGroups: - autoscaling resources: - horizontalpodautoscalers verbs: - get - list - watch - apiGroups: - batch resources: - cronjobs - jobs - scheduledjobs verbs: - get - list - watch - apiGroups: - extensions resources: - daemonsets - deployments - ingresses - replicasets verbs: - get - list - watch
最后执行 kubectl create -f readonly.yaml 创建即可
2.4、创建 ClusterRoleBinding 用户已经创建完成,集群权限也有了,接下来使用 ClusterRoleBinding 绑定到一起即可
1
2
3
4
5
6
7
8
9
10
11
12
apiVersion: rbac.authorization.k8s.io/v1beta1 kind: ClusterRoleBinding metadata: name: cluster-readonly roleRef: apiGroup: rbac.authorization.k8s.io kind: ClusterRole name: cluster-readonly subjects: - apiGroup: rbac.authorization.k8s.io kind: Group name: develop:readonly
将以上保存为 readonly-bind.yaml 执行 kubectl create -f readonly-bind.yaml 即可
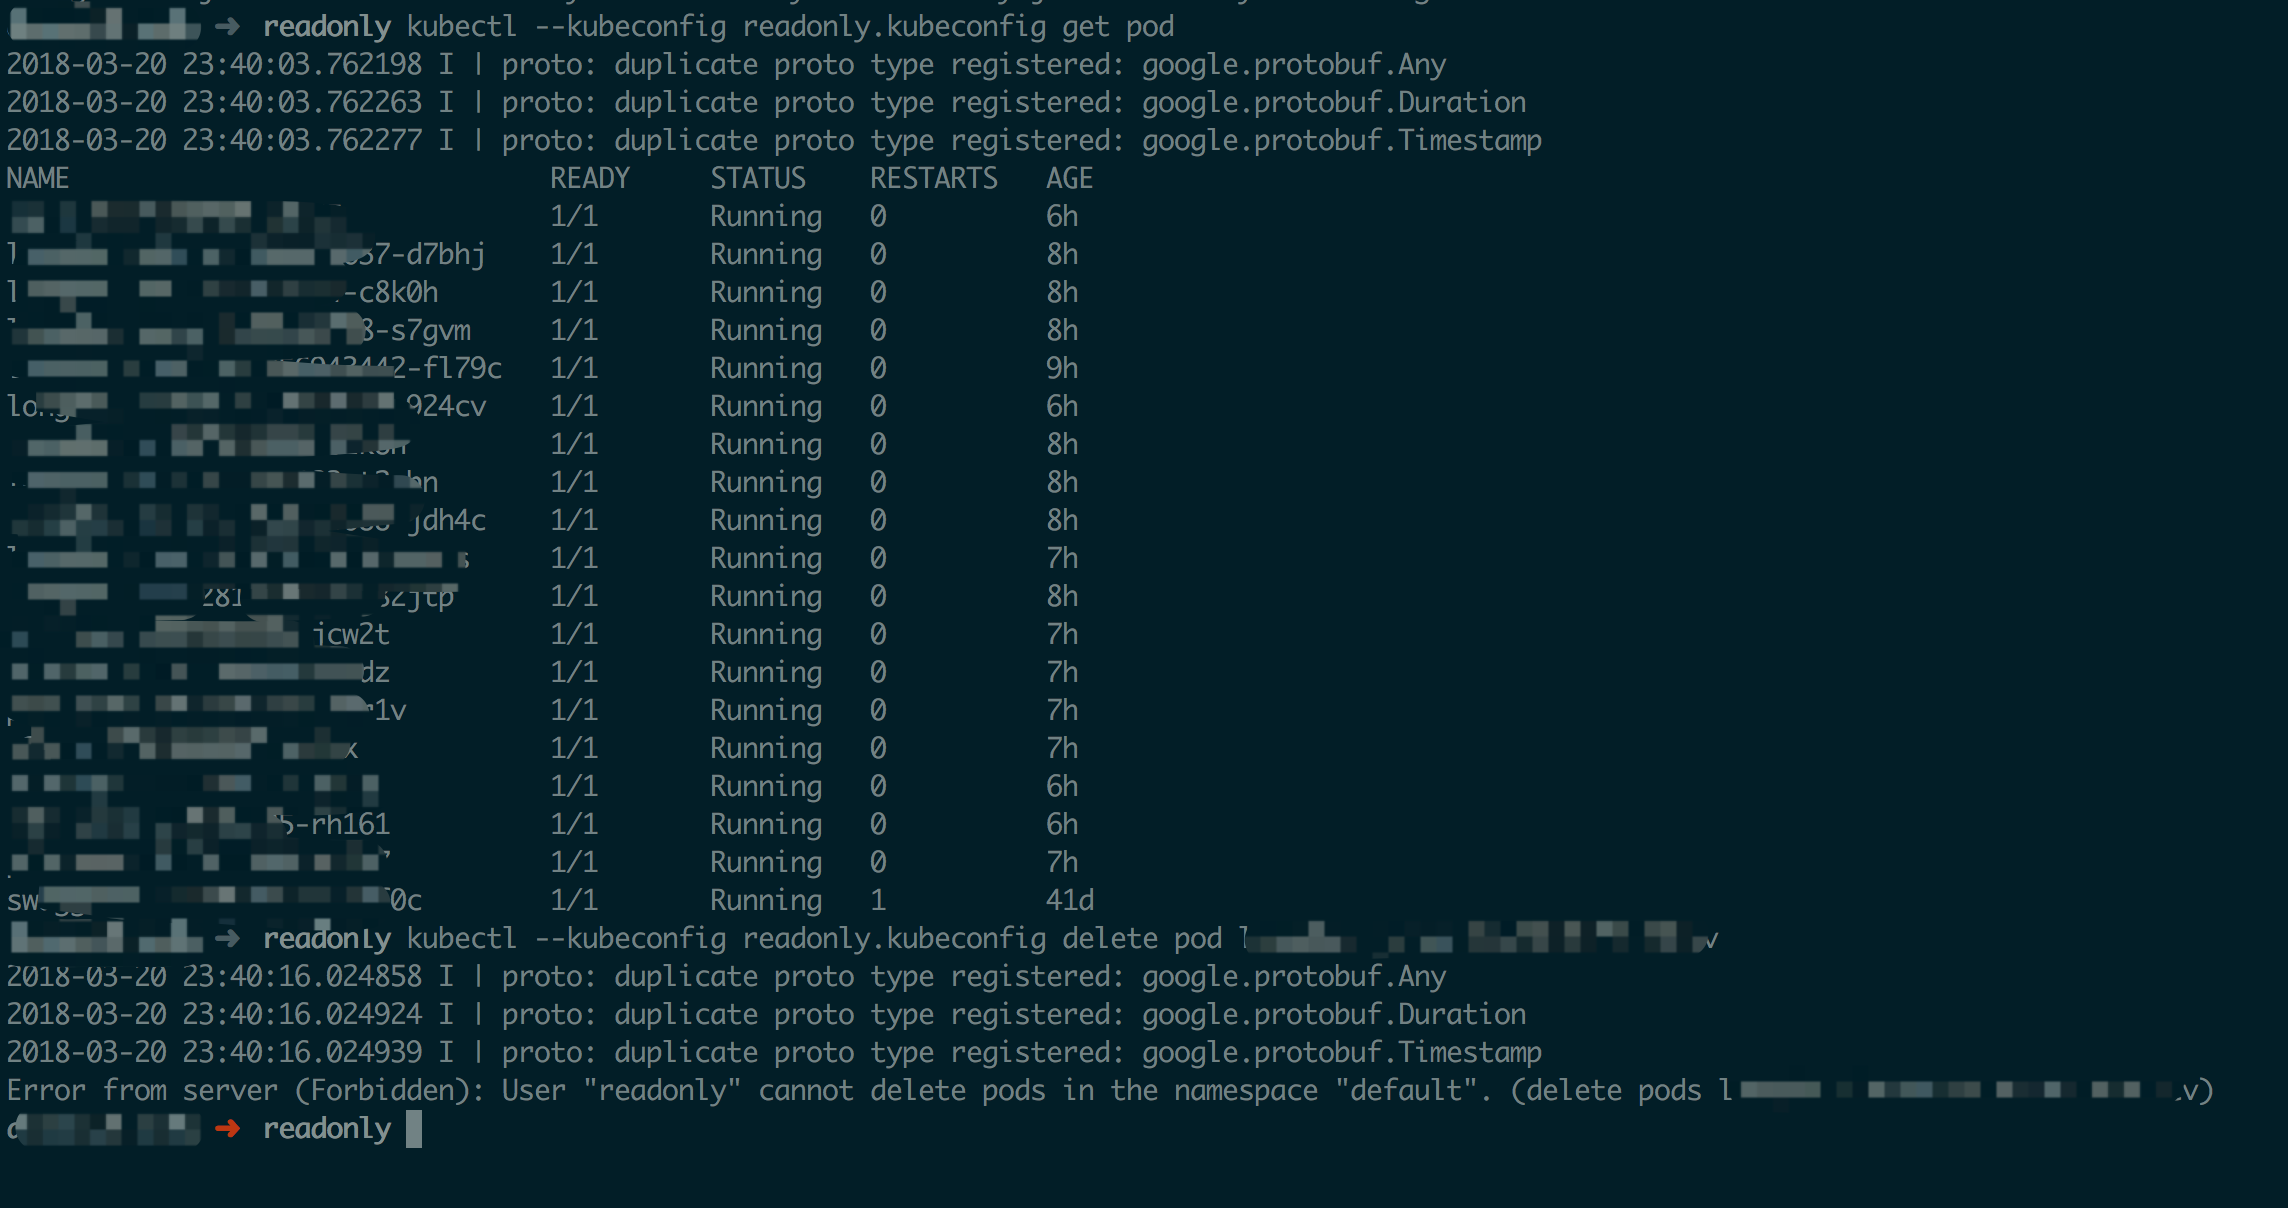
2.5、测试权限 将最初创建的 kubeconfig 放到 ~/.kube/config 或者直接使用 --kubeconfig 选项测试读取、删除 pod 等权限即可,测试后如下所示

